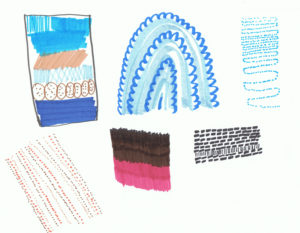
Making marks in an expressive way - exercise 3
A Creative Approach — Project 1 Marking marks — Stage 2 — Exercise 3
This exercise involved repeating exercise 1 using a wider range of materials — paints, coloured pencils, crayons, sticks, brushes, sponges, etc.
I started this exercise again tonight (08/07) and am much happier with how the marks and explorations are turning out. when I began this class, I was "stuck" when doing the drawing and mark-making exercises and working in a journal. I watched the Example: Mark Making (No 1) video after reading the Keeping Sketchbooks article and related articles and then I started a couple of Sharon Boggon's online classes - Artists Studio Journal: A Designers workhorse (began 22nd May) and Sumptuous Surface Embroidery (began 2 weeks later). I haven't finished the embroidery class yet but have the notes to continue with later. both classes were really great - and a huge help for me in doing this class. we had to do similar exercises for the studio journal class as for this OCA class, but I found that the feedback from other students and Sharon and her assistant Tahlia was very helpful. it led me to doing some more of the explorations below. also, I signed up for an art class on coursera.org and the introduction video exercises were helpful too.
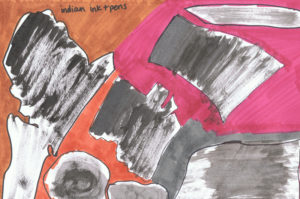
I just discovered Winsor & Newton inks and an Hake bamboo stick - love this! Especially the last two on this page
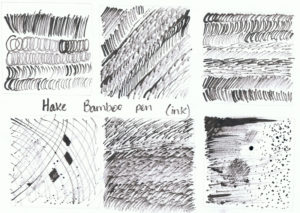
These are using Winsor & Newton inks and pen nibs of different sizes. On the second page I wet the paper first in some of them and then made drops on the page and the inks spread out like little fractal splotches. I love this effect.
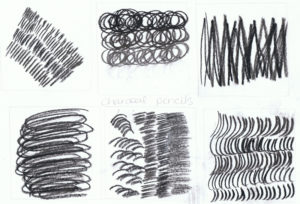
This one is using charcoal pencils - light, medium, dark and white:
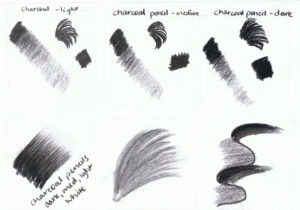
Another using charcoal pencils:
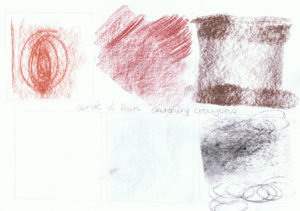
These are using sketching crayons:
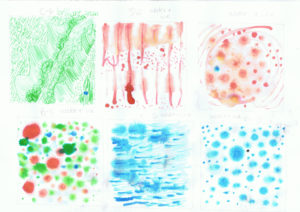
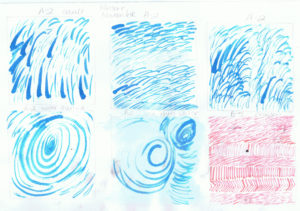
These three are using Brusho paint powders and water sprayed onto the paper. I love this effect also, though I prefer it when the paint is still wet and glossy. it loses some of the effect once the paper dries. I will look into a way of trying to preserve the "wet-look" of these. (these were made over the weekend 30/06)

These two are the Brusho paint powders, water and Aquawax as patterns in the background as a resist:
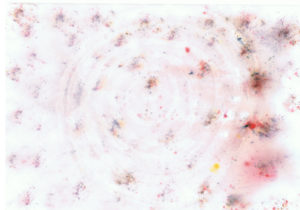
Brusho paint powders, water and Aquawax:
This one had a "puddle" of paint on the edge of the page which looked nice when it was wet. I don't think it looks as nice once the ink has dried, so now I'm keeping this in mind so I can soak up the excess paint or move it across the page if there are any more puddles.
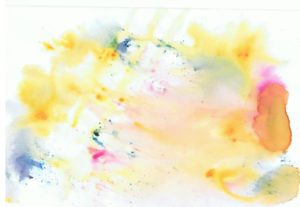
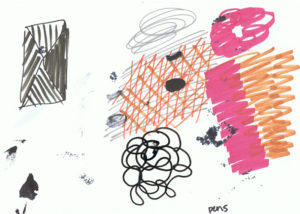
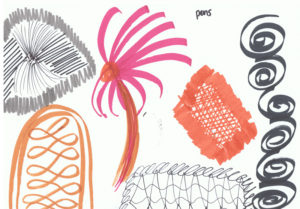
These are the older, first attempts - using coloured pens and paints
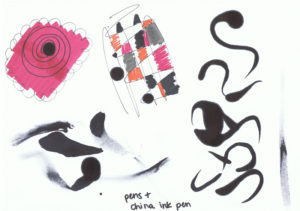
coloured pens and China ink pens:
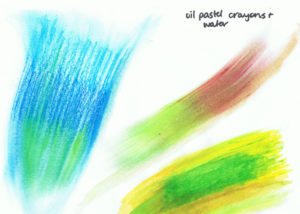
Oil pastel crayons and water wash:
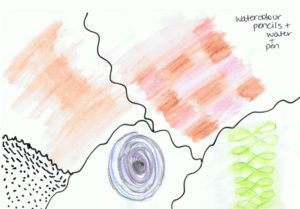
Watercolour pencils, water, pens:
This is using watercolour pencils & water & salt — but the watercolours dried so quickly that the salt didn't draw up any of the paint:
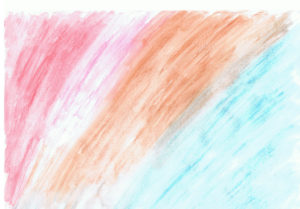
This was using watercolour paint, applied more thickly. I don't think the salt crystals were large enough so it didn't really work either:
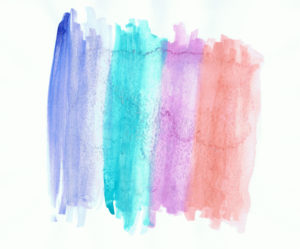
The third attempt was using salt with thicker watercolour:
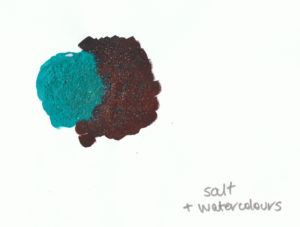
This is thickly applied watercolour paints (tube) with glad wrap/plastic wrap scrunched on it whilst it's drying. I'm not happy with how this one worked out either — there is a couple of nice marbling effects on it, but I thought it would create more of them. Next time I will try with acrylic paints.
| Attachment | Size |
|---|---|
| 410.59 KB | |
| 524.33 KB | |
| 568.38 KB | |
| 655.83 KB | |
| 647.87 KB | |
| 495.04 KB | |
| 530.04 KB | |
| 475.08 KB | |
| 430.61 KB | |
| 657.25 KB | |
| 574.87 KB | |
| 507.77 KB | |
| 542.66 KB | |
| 431.45 KB | |
| 700.28 KB | |
| 600.38 KB | |
| 595.5 KB | |
| 741.44 KB | |
| 638.62 KB | |
| 362.04 KB | |
| 304.45 KB |
::: category:
- AliaK's blog
- Log in to post comments
- 2001 reads

